This help doc will explain how to
set up and use the pay-what-you-can setting.
This feature is only available for general
admission event setups. For Pay What You Can on assigned seating events, view the bottom of this helpdoc for a suggested set up.
Step 1: This
setting gets enabled on the event level.
Head over to Open Events > Manage
Tickets. Then, open the "Edit"
menu of the ticket type you would like to
edit.
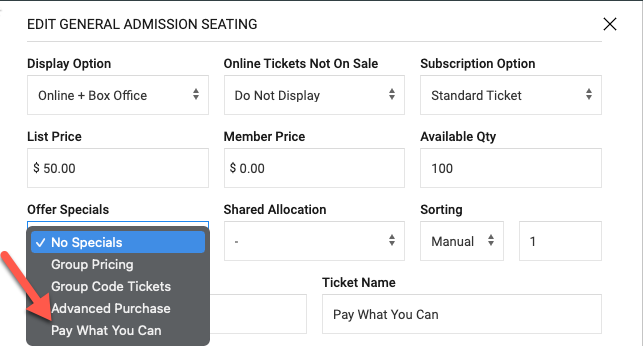
Step 2: In the slide-out
menu, select "Offer Specials." In the
drop-down menu that appears, select "Pay What
You Can." A box will pop up that looks like
this:
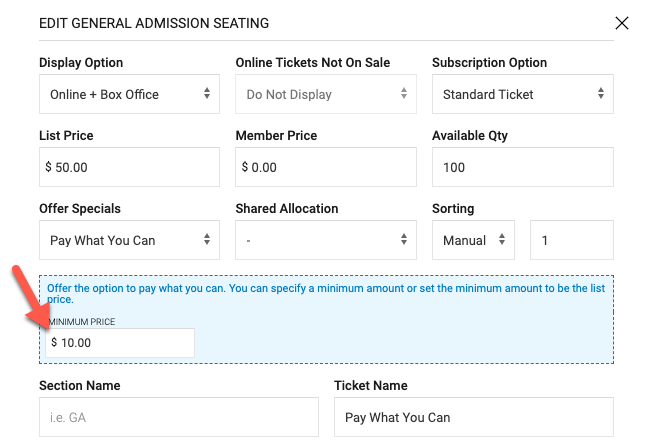
Step 3: Set your minimum
price. The minimum price can be lower than the
list price if you would like to allow patrons
to pay less than the list price, but the price
box will list the list price of the
ticket.
NOTE: The minimum price must be greater than zero. If you would like to offer free tickets to a pay-what-you-can event, please set up an additional free ticket for users to select.
Step 4 (Optional): Use ticket
notes to further explain
pay-what-you-can.
Once these steps are completed, you
have the Pay-What-You-Can setting enabled for
the selected ticket type under the selected
event.
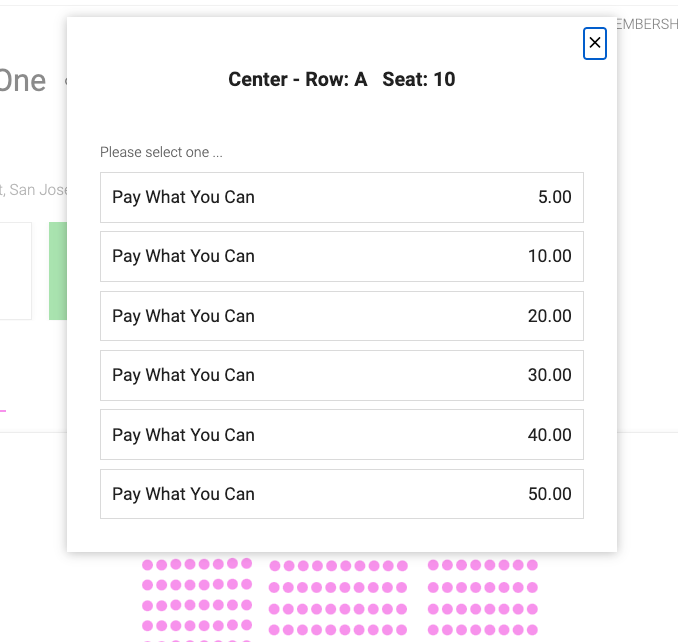
Idea For Pay What You Can For Assigned Seating Events
Create suggested pricing option on the event. The patron would then pick one of the suggested ticket options.